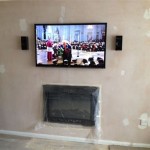
Are you looking for a way to save space and make your gaming setup look more professional? Wall mounting a PC is one of the best ways to do just that. Not only will it free up your desk space, but it will also give your setup a more modern, tech-savvy look.
What You Will Need
Before you start wall mounting your PC, you will need a few items. You will need a wall mount bracket, a drill and drill bit, screws, and a stud finder. You may also need additional tools and materials, depending on the type of wall mount you choose.
Steps for Wall Mounting a PC
Once you have all the necessary tools and materials, you will be ready to begin wall mounting your PC. Here are the basic steps to follow:
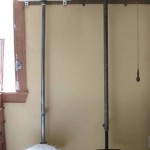
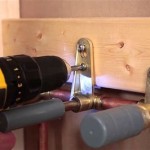
- Choose a suitable location and use the stud finder to locate the studs in the wall.
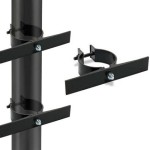
- Install the wall mount bracket according to the manufacturer’s instructions.
- Secure the PC to the wall mount with the provided screws.
- Connect all necessary cables and peripherals.
- Turn on the PC and make sure everything is working correctly.
Advantages of Wall Mounting a PC
There are many advantages to wall mounting a PC, including the following:
- Save Space: Wall mounting a PC can save you a lot of desk space and make your gaming setup look more organized and professional.
- Better Cooling: Wall mounting a PC will allow for better airflow around the PC, which can help keep it cooler and reduce the risk of overheating.
- Easy Access: Wall mounting a PC makes it easy to access the back ports and connections without having to maneuver around a desk or table.
Conclusion
Wall mounting a PC is a great way to save space and give your gaming setup a more modern look. With the right tools and materials, you can easily wall mount your PC and enjoy all of the benefits it has to offer.


Related Posts