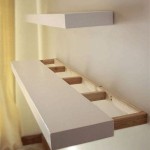
If you’re looking for a way to get your shoes off the floor and out of the way, a shoe shelf wall mount is an ideal solution. A shoe shelf wall mount is a great way to keep your shoes organized and easy to access. This guide will show you how to hang a shoe shelf wall mount in a few simple steps.
Step 1: Choose a Location
The first step in hanging a shoe shelf wall mount is to choose a location. Wall mounting your shoe shelf should be done on a wall that is strong enough to support the weight of your shoes. If you’re not sure if the wall will support the weight, consult a professional before proceeding.
Step 2: Prep the Wall
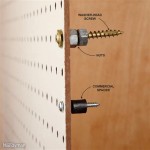
Once you’ve chosen a location for the shoe shelf wall mount, you need to prep the wall. Carefully inspect the area to make sure that there are no loose nails or screws that could damage the shelf. If you find any, remove them before continuing. If you are installing the shelf on drywall, you will need to use wall anchors and screws to ensure a secure fit.
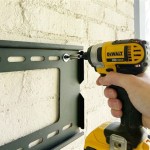
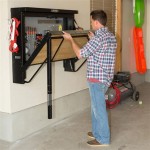
Step 3: Install the Shelf
Once the wall is prepped, you can start to install the shelf. Many shoe shelf wall mounts come with their own mounting hardware, such as screws and wall anchors. If yours does not, you can pick up the necessary hardware at your local hardware store. Follow the instructions included with the shelf to install it, and use a level to make sure that it is even.
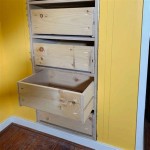
Step 4: Load the Shelf
Now that the shelf is installed, you can begin loading it with your shoes. Make sure to evenly distribute the weight of the shoes so that the shelf is not unevenly weighted. You can also add decorative items, such as small flower pots or pictures, to add some personality to the shelf.
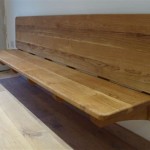
Step 5: Enjoy!
Now that you’ve hung your shoe shelf wall mount, you can enjoy having your shoes off the floor and out of the way. With proper installation and maintenance, your shoe shelf wall mount should last for years to come.


Related Posts