If you have an RV, you know how important it is to have a great stereo system. Whether you’re hosting a party, listening to music on the open road, or just relaxing in your RV, a good stereo system can make all the difference. Unfortunately, like any other electronic equipment, stereo systems can eventually wear down or become outdated, necessitating a replacement. If you’re in need of replacing your RV’s wall mount stereo system, here are some tips for getting the job done quickly and efficiently.
Choosing the Right System
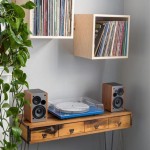
The first step in replacing your RV’s wall mount stereo system is to choose the right system for your needs. Consider your budget, as well as the size and power requirements of the system. If you’re looking for a simple, affordable system, a basic model with a built-in CD player and aux input may be enough. For more advanced features, such as Bluetooth streaming and multiple inputs, you may need to invest in a higher-end system.
Installing the System
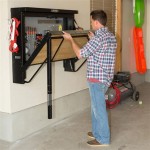
Once you’ve chosen the right system, the next step is to install it. Depending on the type of system you’ve chosen, installation may be a simple job that you can do yourself, or it may require professional help. If you’re not comfortable doing the installation yourself, a qualified installer can do the job for you.
Testing and Troubleshooting
Once the system is installed, you’ll need to test it to make sure everything is working correctly. Check the sound quality of the system, as well as any additional features, such as Bluetooth streaming. If you run into any problems, you may need to contact the manufacturer for troubleshooting help. Additionally, some RV dealerships may be able to provide assistance with installation and troubleshooting.


Related Posts