Mounting a subwoofer on a wall can be a great way to save space in your living room or home theater. With the right tools and materials, it’s easy to install a subwoofer on a wall. This step-by-step guide will show you how to mount a subwoofer on a wall.
Materials Needed
Before you can mount a subwoofer on a wall, you’ll need to have the right materials. Here’s what you’ll need:
- Subwoofer
- Screwdriver
- Wall anchors
- Stud finder
- Drill
- Wall mounting bracket
- Screws
Step 1: Determine the Location for the Subwoofer
The first step in mounting a subwoofer on a wall is to determine the best location for the subwoofer. Keep in mind that the subwoofer should be placed in a spot where it won’t interfere with the sound of other speakers. It should also be placed in a spot where it won’t be in the way of furniture or other objects in the room.
Step 2: Check for Studs
Once you’ve determined the best location for the subwoofer, use a stud finder to check for studs in the wall. If there are studs in the wall, you’ll want to mount the subwoofer on the studs to make sure it’s secure. If there are no studs in the wall, you’ll need to use wall anchors to secure the subwoofer.
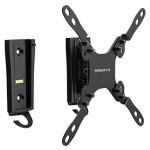
Step 3: Mount the Wall Bracket
Once you’ve determined the best location for the subwoofer and checked for studs, it’s time to mount the wall bracket. Use a drill to create holes in the wall, then insert the wall anchors. Secure the wall bracket to the anchors using screws.
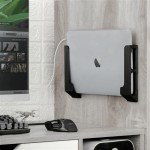
Step 4: Attach the Subwoofer to the Wall Bracket
Once the wall bracket is mounted, attach the subwoofer to the wall bracket using screws. Make sure the subwoofer is secure and won’t come loose over time.
Step 5: Enjoy Your Subwoofer!
Once you’ve mounted the subwoofer on the wall, you can sit back and enjoy the enhanced sound quality of your home theater system or living room. Your subwoofer will now be out of the way and you’ll have more space in your home.


![Best In Wall Subwoofer 2022 [Space Saving Solution]](https://i2.wp.com/downhomedigital.net/wp-content/uploads/best-in-wall-subwoofer.jpg)


Related Posts