Do you want to save space while displaying your DVD collection in your home? Installing a DVD wall mount is the perfect solution! Not only does it free up space, but it also provides an attractive way to display your DVDs. In this guide, we’ll walk you through the steps of installing a DVD wall mount. We’ll cover the materials you need, the tools you’ll need to use, and the steps to install the mount.
Materials You Need
Before you start installing your DVD wall mount, you’ll need to make sure you have the right materials. Here’s a list of what you’ll need:
- DVD wall mount
- Screws
- Screwdriver
- Level
- Pencil
Tools You Need
In addition to the materials listed above, you’ll also need some tools to complete the installation. Here are the tools you’ll need:
- Drill
- Drill bits
- Stud finder
- Tape measure
Steps to Install the Mount
Now that you have all the materials and tools you need, it’s time to install the mount. Here are the steps to install the mount:
- Use a stud finder to locate the studs in the wall.
- Mark the studs with a pencil.
- Measure the distance between the studs to make sure the mount will fit.
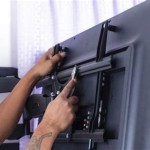
- Using a drill and drill bit, make holes in the wall for the screws.
- Attach the mount to the wall using the screws.
- Use a level to make sure the mount is level.
- Attach the DVD player to the mount.
Conclusion
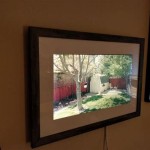
Installing a DVD wall mount is a great way to save space and display your DVD collection. With the right materials and tools, you can easily install the mount in a few simple steps. Now you can enjoy your DVD collection without taking up valuable floor space!


Related Posts