Do you want to make a wall-mounted ironing board but don’t know where to start? This article will guide you through the process of creating your own wall-mounted ironing board from scratch. With a few simple tools and supplies, you can have a convenient and stylish ironing board in no time.
Materials Needed
Before you begin, you’ll need to gather the necessary materials. You’ll need the following:
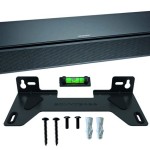
- A wall-mounted ironing board frame
- Fabric for the ironing board cover
- Ironing board padding
- Screws
- Screwdriver
- Stapler
Step-by-Step Instructions
Now that you have all the materials you need, it’s time to start constructing your wall-mounted ironing board. Follow these simple steps:
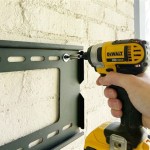
- Secure the frame to the wall. Use the screws to attach the frame to the wall where you want the ironing board to be located.
- Cut the fabric to the correct size. Lay the fabric flat on a table and measure it against the frame. Mark the fabric and cut it to size.
- Attach the fabric to the frame. Place the fabric onto the frame and use the stapler to attach it to the frame.
- Add the padding. Cut the padding to size and place it onto the fabric-covered frame. Secure the padding with the stapler.
- Enjoy your new wall-mounted ironing board!
Tips for Success
Here are a few tips to ensure success when constructing your wall-mounted ironing board:
- Choose a sturdy frame that can support the weight of the ironing board.
- Use high-quality materials for the fabric and padding.
- Take your time when measuring and cutting the fabric and padding.
- Secure the frame to the wall with the appropriate screws for the wall type.
Conclusion
Constructing a wall-mounted ironing board is a relatively easy and straightforward process. With the right materials and a little bit of effort, you can have your own wall-mounted ironing board in no time. Have fun and enjoy your new wall-mounted ironing board!


![[Sept09+003.JPG] Wall mounted ironing board, Mounted ironing boards, Diy wall](https://i.pinimg.com/736x/6b/a6/87/6ba6879d4305cd69fd1c791479e04785.jpg)


Related Posts